Tuesday 25 July 2017

Christmas In July - Scrap 'n Stamp Blog Hop

It's beginning to look a lot like Christmas.....in July!
Welcome to my blog and if you have been following the Scrap 'n Stamp Christmas in July Blog Hop you have probably come here from Niki Stone's blog and her amazing project.

Here is my finished card....


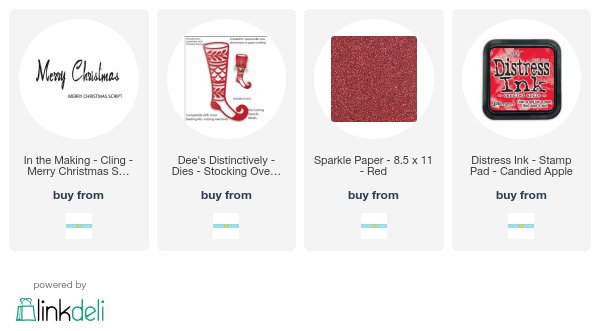
The stocking die is gorgeous! It's from Dee's Distinctly and can be your's for FREE with any $50 order at Scrap 'n Stamp! (Free Gift Offer Applies to Canadian Orders Only)

I started with a 4.25" x 5.5" piece of heavy white cardstock & using my foam applicator applied an all over coat of Distress Oxide Antique Linen. Next I took my Holiday Knit Layering Stencil from Tim Holtz & Stampers Anonymous and applied some Distress Ink Candied Apple.

What happened next was a happy accident - I wanted to apply the Candied Apple Distress Ink around the edge of my cardstock but accidentally picked up my Antique Linen Foam Applicator. Ooops....but I loved the way the Antique Linen Oxide softened the Candied Apple Ink. I carried on and then did another layer of Candied Apple over the first layer. 

I heat embossed some Burnt Copper Leaves embossing powder from Emerald Creek
on to my stocking die cut. I then glued the stocking to the red sparkle paper.
I stamped the 'Merry Christmas' with Archival Ink Potting Soil and then adhered the cardstock to my card base. 


Now head over to Karen's blog for even more Christmas In July inspiration.

Be sure to check out the entire lineup of crafters participating in the blog hop:


Products used for this project:


Saturday 15 July 2017

Celebrate......Botanicals & Distress Oxides

Hello & welcome!

I'm here to share a card I made to give to my grandma who is turning 90 years young next week.
She is an amazing woman and I am so happy to be able to be with her on her special day.

Here is the finished card


For this card I used the Flower Jar Stamp Set with matching framelits, Distress Oxides, Archival Ink and watercolor paper.

I started by applying my Distress Oxides on to my splat mat (which is actually a bbq mat I bought at the $ store) then I gave these a spritz of water. Next I took my 5"x 5" square of watercolor paper and began creating my background. 

To create an edge or frame for my card I swiped just the edges through the leftover ink on my craft mat. Normally I would use my blending foam applicator to do this but this was a happy accident on one edge. I loved it so much I did the same on the other 3 edges.

Here is the background

I needed something to help ground my focal point to the card so I took a stamp from the Tim Holtz Mixed Media 2 stamp set to create this loose crosshatch on my background.

I used some scraps of watercolor paper that I had on my desk to create the mason jars.
I love my Misti. I get perfect placement and a sharp, crisp stamped image every time.
I used the Flower Jar framelit set to die cut out my jars. Its hard to see in the photo but I also applied some glossy accents to the jars to give them some highlights.

To create my flowers, I first took some scrap watercolor (again!) and applied some Distress Oxides using the same technique as described above. I then stamped my flowers (using my Misti) then die cut these images out using the coordinating framelits.

It was time to stamp my sentiment and assemble my jars. I used pop dots for the jars then used liquid glue to tuck my flowers in behind the jars.
Products used:

Tim Holtz Flower Jar Framelit set from Sizzix
140lb cold press water color paper
Archival Ink - Jet Black


Saturday 1 July 2017

Scrap n' Stamp Canada Day Blog Hop

Happy Canada Day! 
Today we are celebrating Canada's 150th birthday with a special blog hop over on the Scrap 'n Stamp blog, sharing projects featuring the cute new 'Busy Beaver' stamp & die set by Taylored Expressions. Be sure to leave comments along the way because Scrap n' Stamp Canada has some prizes to give away randomly - $150 in gift certificates (3 lucky people will each win a $50 gift certificate) and a Busy Beaver Stamp & Die Set with a bonus maple leaf die. Winners will be randomly chosen and announced on the Scrap N' Stamp blog on Monday!

Here is sneak peek of the finished card - cute, right?

Here is the Busy Beaver Stamp & Die Set I received from Scrap 'n Stamp.
So adorable and check out those sentiments. So funny!

I couldn't create a Canada Day card without using some products from a couple of 
my fave Canadian manufactures. 


After stamping and die cutting my Busy Beaver image I coloured him in with Distress Markers.
His birthday hat is from the Crazy Accessories stamp with matching thinlit die. I love these sets - it makes it so easy to create accents for cards.

My background was created with the help of my Misti.
 I first stamped my circle background stamp (Halftone & Rings - Stampers Anonymous) with Candy Apple Distress Ink two times to get a nice bright red. 
I made a note of where my paper was before removing it from the Misti, giving it a spritz of water and then drying it 

I then placed the paper back on my Misti in the same place and then stamped the same image with Black Versafine Ink. I love this layered look/

The wood pieces from Southern Ridge  were painted with Candy Apple & Picket Fence Distress Paints. 

Now head on over to Karla Yungwirth's blog for even more inspiration and don't forget to leave a comment for your chance to win!

Karla's Blog - Creative Love Affair